How to Start a Shopify Store?
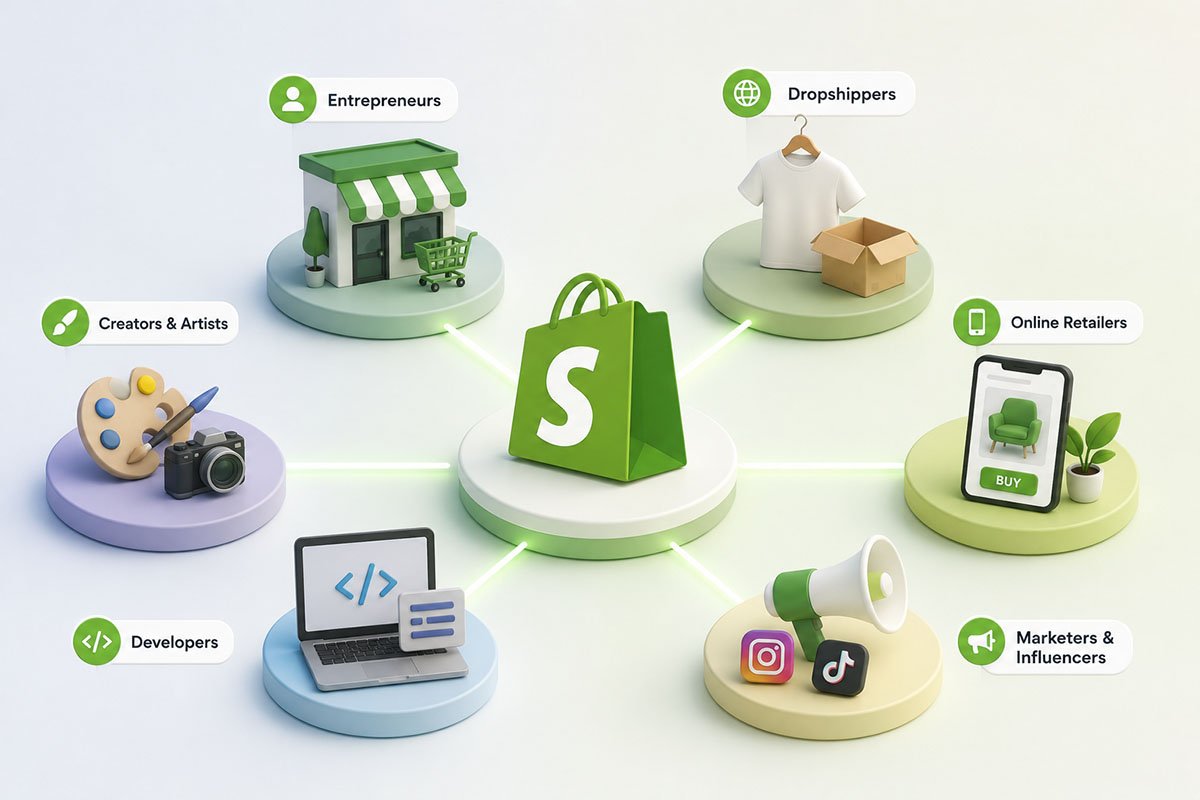
Shopify has become a go-to service for anyone looking for a professional and reliable eCommerce platform to sell products online — from high-end stores to dropshipping businesses. This eCommerce platform has a noticeable impact on the global economy, with millions of merchants using Shopify to build and manage online storefronts. Starting a Shopify store can feel exciting and overwhelming at the same time. You need to plan what to sell, how to earn positive customer reviews, and what strategies you should use to keep your store running for years. As a beginner, you might not be familiar with many aspects of eCommerce, which can feel frustrating. Unlike many other eCommerce platforms, Shopify makes it easier to start an online store without needing advanced coding skills. Online merchants often choose Shopify because it offers a wide range of eCommerce tools, customization options, and design features. Shopify also makes it easier for sellers to integrate their stores with social media platforms to drive sales and increase conversions. If you are unsure how to start a Shopify store, this guide is for you. Below, we provide a step-by-step guide to setting up your Shopify store without needing technical knowledge.Steps to start a Shopify store
1. Decide your business name
The first step is to pick a creative name for your business. You can use the Shopify Business Name Generator to come up with ideas. Ideally, the name you choose should have an available .com domain address, as .com domains can make your business look more professional. Alongside your business name, you should also prepare a basic business plan, a list of products you want to sell, and a brand logo to avoid last-minute delays.
2. Create a Shopify account
Shopify has a straightforward process for starting an online store. Go to Shopify.com and enter a valid email address and a strong password. You can then proceed to set up your Shopify store. Next, fill in your Shopify store name and a few details about yourself and your business.
3. Add products
Once you have created your Shopify store, the next step is to add products. Go to the Products tab, click Add Products, list the products you want to add, and include the necessary product information.
Shopify asks you to add product details such as the product title, description, images, and price. This information helps customers understand the features and benefits of your products. To organize your products, you can also use collections, tags, vendors, product availability settings, and product types.
4. Add pages
The next step is to add key pages to your store’s website. These may include Terms of Service, Privacy Policy, FAQs, About Us, and Contact Us pages. Your About Us page helps customers build a stronger relationship with your business, while your Contact Us page makes it easy for them to reach you if they have questions about your products.
5. Customize your storefront
Next, customize your store’s appearance. Go to Online Store and click Themes. From there, you can choose a theme and customize the look of your store. Shopify offers both free and paid themes. You can start with a free theme to test its performance, or choose a paid theme if you want a more polished and professional look.
After selecting a theme, you can adjust elements such as layout, product images, colors, navigation, and other design settings. Rearrange different elements to create a storefront that fits your business niche and brand identity.
6. Customize your checkout page
Customize your checkout page to complete your setup. Go to Theme Settings and click Checkout. From there, you can adjust elements such as the layout, background color, and product images. You can also decide whether customers should check out using their email address and configure other checkout preferences.
7. Add shipping details
Shipping is a significant part of your Shopify store, so it deserves careful attention. You can set shipping destinations, product weight, carrier rates, packaging costs, and margin considerations. To configure this, go to Settings and click Shipping.
8. Set up taxes
Shopify can help with tax calculations, but it is important to research your local tax requirements to make sure you are charging and paying the correct amount. To set up taxes, go to Settings and click Taxes and duties. Add the relevant tax information for your business and region.
9. Connect payment gateways
Connecting payment gateways is essential if you want to accept payments from buyers. Go to Settings and click Payments. Shopify may ask you to enter important details about yourself and your business, including banking information and your business address.
You can choose a third-party payment gateway or use Shopify Payments where available. Shopify Payments allows you to receive payments directly through Shopify and can reduce the need for additional payment integrations.
10. Get ready for launch
Before launching your Shopify store, add a custom domain to make your store look more professional. You can purchase a domain directly from Shopify, or connect an existing domain to your Shopify store. You should also choose the right Shopify plan for your business.
Set up analytics so you can track sales, conversions, and customer behaviour. You can use Facebook Pixel or Google Analytics to better understand how visitors interact with your store.
You can also connect apps from the Shopify App Store to add extra functionality. These apps can help with email marketing, social media marketing, budgeting, customer support, reviews, and more.
11. Launch your Shopify store
The final step is to launch your Shopify store and make it visible to the public. Go to Online Store and click Preferences. Scroll down and disable the password protection. Once you have selected a Shopify plan and completed your setup, your store is ready to start selling.
The bottom line
Shopify gives new online sellers many of the tools they need to build and grow an eCommerce business. The platform has a simple process for opening a new store, adding products, customizing the design, setting up payments, and launching to the public. We hope this guide helps you open your Shopify store with more confidence and without needing professional technical support at every step.